
How to Remove Swirl Marks from VW Car Paint
Posted by Awesome GTI on 23rd Sep 2026
If you’ve ever parked your VW under petrol-station lights and noticed fine rings across the bonnet, you’ve seen the swirl marks car owners often miss in normal daylight. They’re easiest to spot on dark paint, although any colour can develop them when grit is dragged across the surface during washing or drying.
This guide explains how to remove swirl marks from car paint without reaching straight for the strongest compound in the garage. It covers the checks to make first, as well as safe preparation and polishing by hand or with a machine.
Estimated reading time 11 minutes
In This Article:
- What Causes Swirl Marks on VW Paint?
- Check How Deep the Marks Are
- What You Need to Remove Swirl Marks
- Step 1: Wash and Dry the Car Properly
- Step 2: Decontaminate the Paint
- Step 3: Test a Small Area
- Step 4: Polish the Paint
- Step 5: Inspect and Refine the Finish
- Step 6: Protect the Corrected Paint
- How to Deal with Black Car Swirl Marks
- When to Leave Paint Correction to a Professional
- How to Stop Swirl Marks Coming Back
What Causes Swirl Marks on VW Paint?
Swirl marks are clusters of very fine scratches. They look circular under a street light or inspection lamp because each scratch reflects the light around the bright point, even though the marks themselves run in different directions.
Most swirl marks are caused during routine cleaning. Grit caught in a sponge or drying towel gets dragged across the panel, while automatic brush washes repeatedly make contact with the paint. Wiping dust from a dry surface can cause similar damage because there’s no water or shampoo to carry the particles away.
On most modern VWs, light swirls sit in the clear coat, which is the transparent protective layer above the colour. Polishing levels a tiny amount of that layer around the mark so the light reflects evenly again. A glaze works differently by filling the mark for a while, which is why it often looks good at first and returns after a few washes.
Check How Deep the Marks Are
If you're working out how to remove swirl marks on car paint, first check whether the marks are shallow enough to polish. Wash a small section and inspect it in direct light. A phone torch held close to the panel is enough for an initial check. Look from more than one angle because shallow swirls disappear when the reflection moves.
Use the table below to choose a sensible starting point before any polishing begins.
| What you can see | Likely condition | Next step |
|---|---|---|
| Fine marks only around a bright reflection | Light clear-coat marring | Test a mild finishing polish |
| Marks visible in normal daylight but not felt by a fingernail | Moderate clear-coat swirls | Test a one-step compound on a small section |
| A line catches a fingernail | A deeper scratch | Improve it lightly or leave it for repair |
| Colour or primer shows through | Damage beyond the clear coat | Do not keep polishing the area |
The aim is a worthwhile improvement, not removing every visible line at any cost. Clear coat is limited, and the edges of a panel are usually thinner than the broad, flat centre. Treat an unknown repair or resprayed panel cautiously because its paint depth may differ from the surrounding bodywork.
What You Need to Remove Swirl Marks
Set the kit out before you start so a clean pad or cloth is ready when you need it. You don't need a trolley full of detailing gear, but every item that touches the paint should be clean and made for the job.
- A paint-safe car shampoo and a clean wash mitt
- A soft drying towel
- Tar and fallout remover if the paint feels contaminated
- A fine clay bar with plenty of lubricant
- Painter's masking tape for textured trim and sharp edges
- A suitable polish or one-step compound
- A foam applicator or dual-action machine polisher with the correct pad
- Several clean microfibre cloths
- Wax, sealant or another paint protection product
Keep polishing cloths separate from any towels used on the wheels or other dirtier areas of the car. A single piece of trapped grit can mark the next panel and undo your work.

Wash and Dry the Car Properly
Work on cool paint in the shade. Rinse off loose dirt before the contact wash, then clean from the roof down with a lubricating shampoo. Rinse the mitt regularly using the two bucket method rather than carrying the same grit around the car.
A soft microfibre wash mitt holds dirt away from the paint better than a flat sponge. You'll find shampoo, towels and the rest of the preparation kit in our car cleaning range.
Dry with a clean, absorbent towel using light contact. Lay it across a panel and pull it gently, or pat the remaining water away. Scrubbing at droplets with a small cloth puts concentrated pressure on any dirt that the wash missed.
Keep wash water away from surface drains where practical. Government vehicle washing pollution guidance explains that runoff can carry cleaning chemicals and road grime into waterways.
Decontaminate the Paint
Clean paint can still feel rough after washing. Brake dust, tar and other bonded contamination sit on the surface, where a polishing pad can pick them up and drag them across the panel.
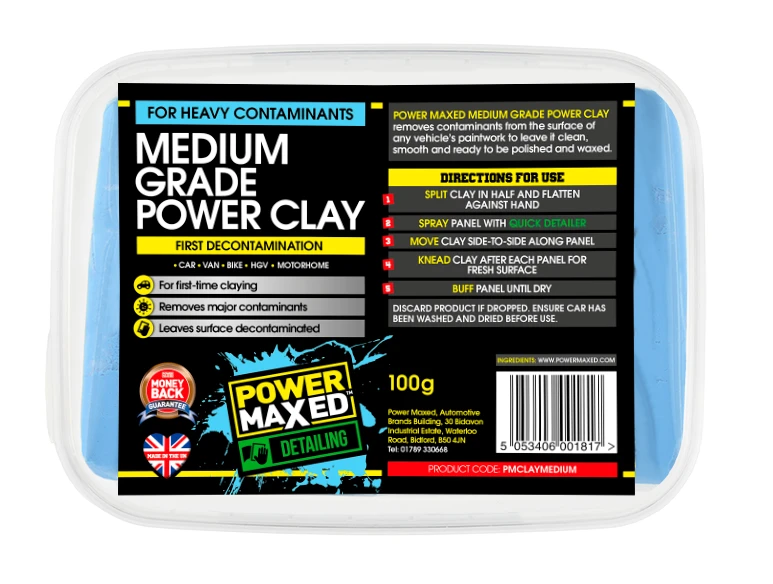
Use a suitable fallout or tar remover according to its label, then rinse thoroughly. If the paint still feels rough through a clean plastic bag placed over your fingertips, clay only the affected areas with plenty of lubricant.
A fine or medium clay bar removes particles that washing leaves behind. Fold the used face into the clay as it becomes dirty and discard it if it touches the ground. Clay can leave light marring, so it belongs before the polishing stage rather than after it.
Rinse and dry the car again once the surface feels smooth. Tape textured plastic trim, washer jets and panel edges so polish doesn't stain them or build up in narrow gaps.
Test a Small Area
Choose a section around 30 centimetres square on a panel where the marks are easy to see. A test section tells you how the paint responds before you commit to the whole car.
Start with the mildest polish and pad that have a realistic chance of working. Put a small amount on the applicator, spread it across the section and work it with overlapping passes. Wipe the residue away with a clean cloth, then inspect the section under the same light you used at the start.
If the marks have improved, stay with that combination. If there is little change, move up one step in pad or compound strength and test again. Jumping straight to a heavy cut removes more of the clear coat than the job may need.

Polish the Paint
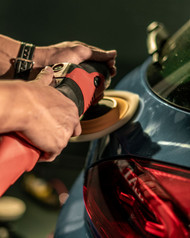
For the light swirl marks car paint often picks up during washing, hand polishing gives a useful improvement without much kit. It takes longer on a full car, though, and deeper clear-coat marks respond more evenly to a dual-action machine.
A dual-action polisher rotates and moves the pad off-centre at the same time. That motion spreads heat and pressure across the working area, which makes it more forgiving than a rotary machine for someone learning the process.
Auto Finesse One Step Compound is made to cut light defects and refine the finish in one stage. Match it with the pad recommended by the manufacturer rather than choosing the firmest foam on the shelf.
Polishing by Hand
Apply a small amount of polish to a clean foam applicator and work one manageable section at a time. Use firm, even pressure while the product is cutting, then lighten your pressure for the final passes. Wipe the residue away before it dries hard on the panel.
Hand polishing suits isolated marks and smaller areas around handles or pillars. A whole bonnet soon becomes hard work, and tired arms lead to patchy pressure. Split a large panel into sections you can finish properly.
Using a Dual-Action Polisher
Prime a clean pad with the amount of product stated by the polish maker. Place the pad flat on the panel before switching the machine on, spread the product at low speed and then make slow overlapping passes across the test-sized section.
Keep the pad flat and the cable away from the bodywork. Don't sit on a sharp crease or push hard against an edge. Clean the pad as residue builds because a clogged face stops cutting cleanly and starts dragging spent polish over the surface.
Let the compound and pad do the work. Extra pressure creates heat without guaranteeing a better finish. Stop if the panel becomes uncomfortably warm to the touch, then allow it to cool before deciding what it needs next.
Inspect and Refine the Finish
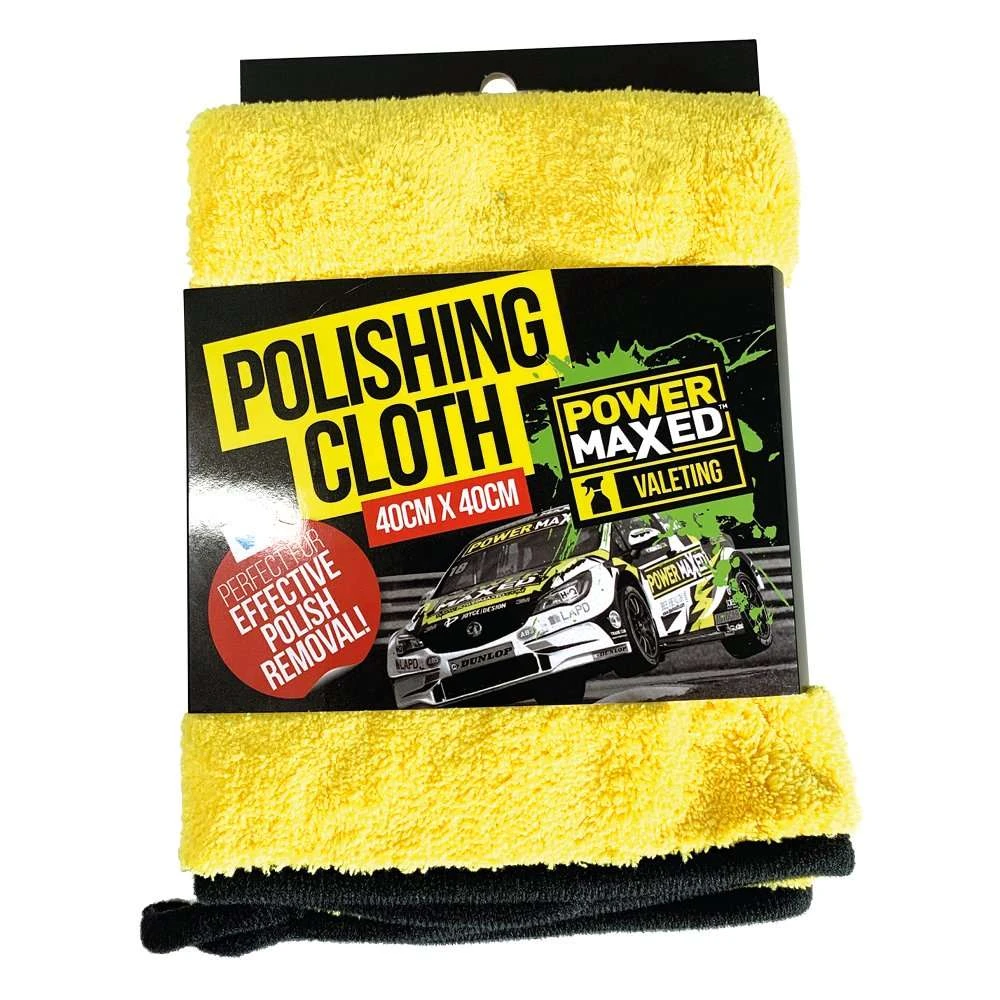
Buff each section with a fresh side of the cloth. A dedicated polishing cloth is less likely to leave lint or pull residue back across the finish, especially once the compound starts to dry around panel gaps.
Use a clean microfibre polishing cloth and inspect the panel in direct light. Check it again from the side, as a finish that looks clear head-on can still show a hazy trail from the pad.
Some compounds leave polishing oils behind, which can make remaining marks harder to see. If the product instructions allow it, use a paint-safe panel wipe before the final inspection. One successful pass is enough if the finish is clear. Repeating the same section without a visible gain only removes more clear coat.
A mild finishing polish can clear light haze left by a stronger cutting stage. Use a softer pad and repeat the test-section approach rather than refining the whole car before you know the combination works.
Protect the Corrected Paint
Polishing leaves the surface ready for protection. Apply a wax or sealant to clean, cool paint using the amount and curing time on the label. A thick coat is harder to remove and doesn't automatically last longer.
Power Maxed Ceramic Ultra Seal gives the corrected paint a water-repellent finish and helps grime release more easily during later washes. Spread it evenly and buff it with a separate clean cloth so no polishing residue is carried into the protective layer.
Protection won't make the clear coat scratch-proof, but it reduces how firmly dirt sticks to the surface. That makes the next wash gentler, which matters after you've spent the afternoon correcting the paint.
How to Deal with Black Car Swirl Marks
Black car swirl marks look worse because bright light reflected from each fine scratch has a strong contrast against the dark paint. The correction process is the same as it is on a silver or white VW, but missed residue and light haze are easier to spot.
Work in smaller sections and turn the cloth to a clean face often. Inspect the finish under a point light as well as normal daylight. If the car is metallic black, move the light around so flake doesn't hide a faint polishing trail.
Take extra care during the final wipe. Pressing harder on a stubborn patch of residue can put fine marks back into a freshly polished bonnet. A little more product or the correct panel wipe is safer than scrubbing at dry compound.
When to Leave Paint Correction to a Professional
Stop when a scratch catches your fingernail or the colour has broken through. Repeated test passes that bring no worthwhile improvement are another reason to leave it alone. Stone chips need repair rather than more polishing, as do peeling clear coat and cracking paint.
Professional help also makes sense on a car with unknown paint history. A depth gauge helps an experienced detailer compare panels and spot areas that may have been repaired, but the number still needs interpretation. Thin edges and raised body lines leave less room for error.
Volkswagen's own body and paintwork guidance separates small touch-up damage from scratches that need a paint repair. If a mark sits beyond the clear coat, correcting the surrounding shine won't replace the missing colour.
How to Stop Swirl Marks Coming Back
Most swirl marks car owners see begin with contact washing, so prevention is mainly about keeping grit away from the paint. Pre-rinse the car and use a clean mitt. Stop if the wash water or tools become visibly dirty.
Wash wheel tools and paintwork cloths separately. Clean microfibres without fabric softener, then store them somewhere they won't collect dust from the garage floor or workbench. Retire any towel that has been used for greasy door shuts from paintwork duty.
Avoid automatic brush washes and don't wipe a dusty car with a dry cloth. If the VW only needs a quick tidy, use a properly lubricated rinseless or waterless product that is designed for light dirt, following its instructions closely.
Keep the wax or sealant topped up and use light pressure when drying. Good wash technique won't keep a daily-driven car completely mark-free, but it slows the build-up enough that the paint needs correction far less often.
You'll find the preparation, polishing and protection products for the job in the Awesome GTI car care range. If you're unsure which combination suits your VW paint, get in touch with the Awesome GTI team before ordering. We’re always more than happy to help.